iOS Quick Tip: Scroll Bar

If you’ve updated to the new iOS you might’ve noticed a new scroll bar while navigating through a page in Safari. Not only is it useful for seeing where you are on a page you can now use it to scroll faster! Have a crack at it by normally scrolling through a page, then tap and hold the scroll bar on the right and drag it up or down to scroll through the page. Also the faster you move the scroll bar the faster you will scroll through the page!

Adjustments.jpeg

Your iPhone can help you in an emergency!

It’s hard to dial an emergency number in an emergency! But there is actually a quick way to make an SOS call on your iPhone. Here’s how you do it…

Adjustments.jpeg

Access SOS on your iPhone by pressing and holding down the side button and either volume button. Your iPhone will then contact emergency services and also send a message to your emergency contacts in your Medical ID and Health app.

iOS Quick Tip: It's all about that Battery Health

Once again, Apple is working on our iPhone battery woes! Now that iOS 13 is a little more ironed out with a few multiple updates to fix a few bugs, let’s talk about the changes they’ve made to help us with Battery Life.

We all get a little confused when it comes to charging our phone overnight, but look, you’re not going to overload your phone while your sleep and charge. So Apple has done this thing with your trickle-charging. Usually once our batteries charge to 100% it switches to trickle charging. What is trickle charging, you ask? Well, let’s ask Siri…

Hey Siri…

What’s trickle charging?

Using it’s AI magic your iPhone will learn your routine. Yes, your iPhone is stalking you, but it’s for the good of your battery! It will set up a routine of only charging your iPhone to 80%, switch to trickle charging, and then by learning your wake up time, it will charge up to 100% just as you wake and hit snooze.

Here’s how to activate it…

Settings > Battery > Battery Health > Turn ON Optimised Battery Charging.

Battery_Health_Screenshot_Setup_Sync_Learn.png

iOS 13: A Whole New Look On A Whole New Level

iOS 13 is finally here! Are you ready to experience a new level on your iPhone? Check out some of these features that you will find in iOS 13…

iOS13_preview.png
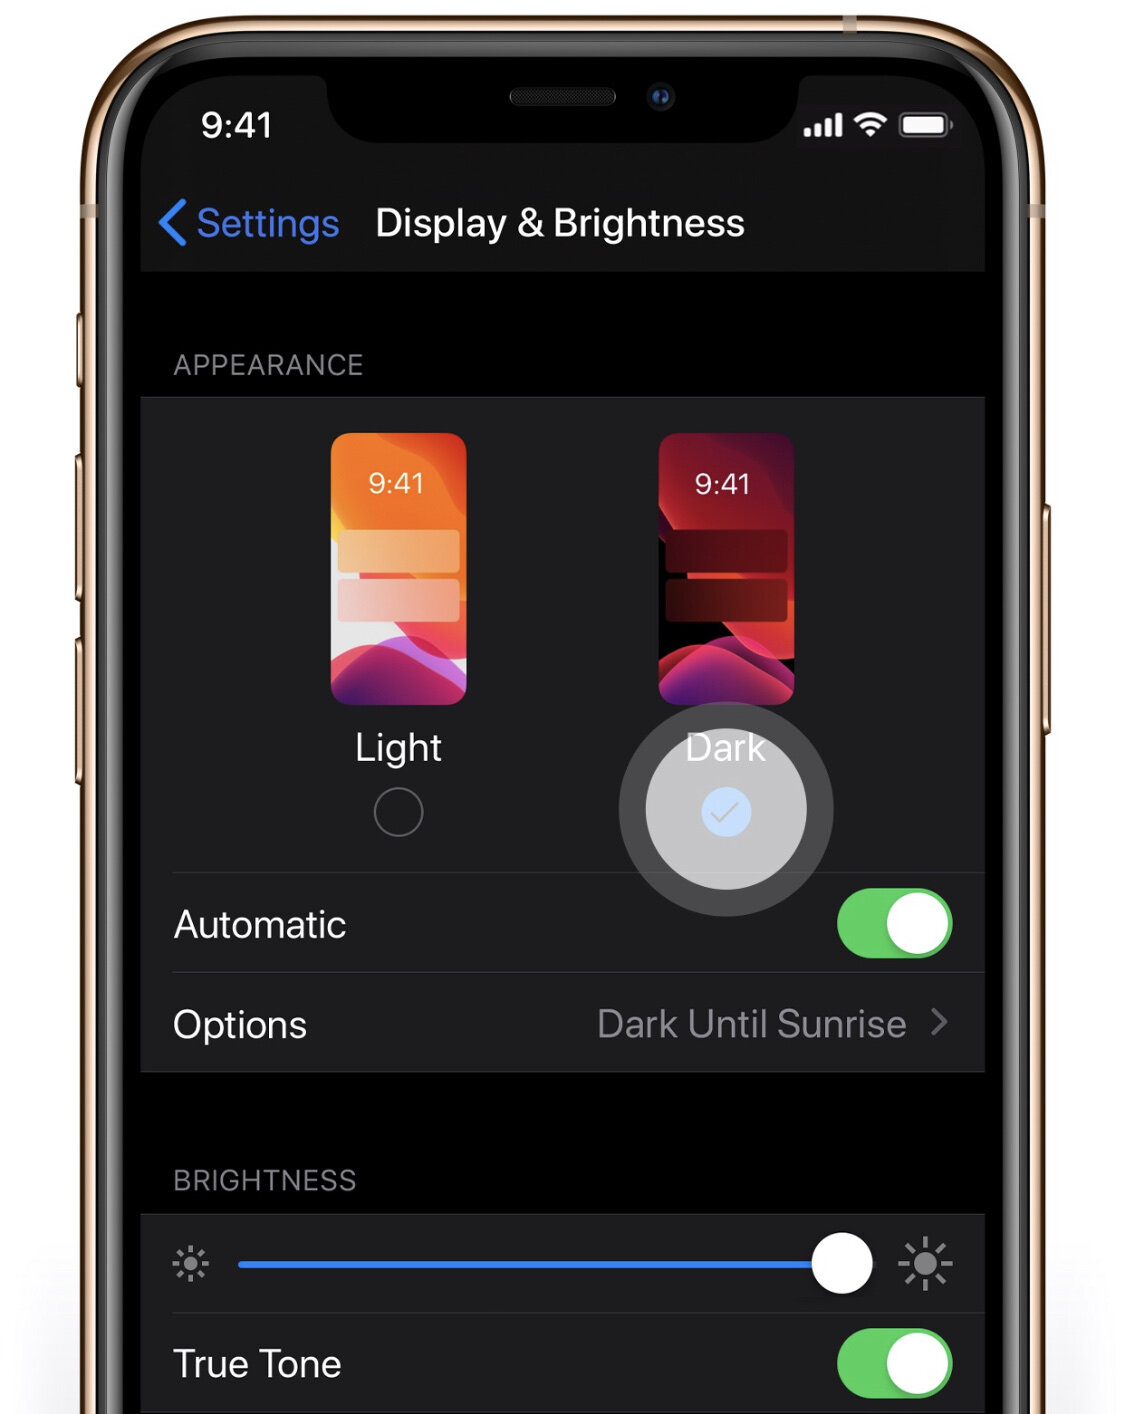
  1. Dark Mode - See your iPhone in a new light! Dark Mode is finally here, designed to make screen viewing a little easier on your eyes. You can simply turn it on in your Control Centre or have it automatically turn on at night.

  2. Portrait Mode - Yes, there’s new updates to make your portrait photos even more beautiful. The new update allows you to have more control over your light intensity with the new Portrait Lighting controls. You’ll also be able to create beautiful black-and-white portraits with the new High-Key Mono filter in Portrait Mode.

  3. New tabs in Moments - A new way of organising your special moments into days, months and years.

  4. New powerful editing tools for Photos and Video - Refine your photos a videos further with new and updated editing features. Need to rotate a video? You can finally do it with iOS 13!

  5. Privacy and Security - Apple has always taken its Privacy and Security seriously so be prepared for a few upgrades here. One of the biggest updates is the introduction of "Sign In With Apple” which simplifies the way you can sign in to apps and websites with your privacy in mind.

These are only a few of the many new things in iOS 13. You can find out more here on Apple’s website. Don’t forget to make sure your phone is backed up before the update. Not sure if it is or how to? Go to your Settings > ‘Your Name’ > iCloud > iCloud Backup - check that this is on.

Mac OS Tip: Hide That Menu!

Here’s a quick Mac OS tip for you today to keep your desktop looking tidy.

Automatically hide the top menu bar by following these instructions…

Hide_Menu_Bar.png


SYSTEM PREFERENCES > GENERAL > ENABLE: “Automatically hide and show the menu bar”

Now whenever you bring your cursor to the top of your screen your menu will appear, and then disappear when you move away from it.

Quick iOS Tip: Access your favourite app with a swipe!

public.jpeg

Here’s a quick tip straight from the essentials of iOS! You can access your favourite App with just a swipe to the right and view its widget in your Today view. To add an App, find its icon, press down on it (with the 3D Touch), then tap on Add Widget.

public.jpeg

Now you’ll be able to quickly view the App from your Lock Screen by swiping right!

Quick iOS Tip: I’m still listening!

Sometimes you’re on a call and then someone else might walk in and want to start discussing something important, but then you may not want whoever is on the phone listening. Or you could be listening to that friend of yours venting, but secretly you’re watching Netflix in the background so you don’t want them to hear that background noise…okay, I’m kidding. We’re not that kind of friend. A friend must always be actively listening! But here’s how you mute yourself in a call. Just tap the mute button!

public.jpeg

Quick Tip: How to stop those pesky rate and review requests

We all have opinions, but sometimes we just want to enjoy ourselves without having to give feedback. So here’s a quick tip on how to stop those annoying rate and review pop-ups from apps that you’ve been using.

public.jpeg

Here’s where to go to disable those feedback requests!

Settings > iTunes & App Store and then tap the switch to toggle off In-App Ratings & Reviews.

How To: "Password-Protect" Apps using Screen Time

yura-fresh-1143650-unsplash(1).jpg

Did you know the Screen Time feature on your iPhone and iPad does more than just track how long you spend on various apps? Here’s a little hack on how you can use Screen Time as a way to password protect your apps…although I admit it just has one wee flaw.

Firstly, you’ll need to make sure you have Screen Time enabled by going to Settings > Screen Time and then set a passcode by tapping on Use Screen Time Passcode.

Now you’ll need to set a time limit for the apps you want to lock. What we are trying to do is set a minimum time limit so that the app will lock straight away (the minimum limit is 1 minute - this is the one flaw, as you’ll be “unprotected” until the app has been used for 1 minute).

To add a time limit to to an app, tap on the bar graph that shows your current day’s usage. Find the app you want to add a limit to in the list and tap on it. Next, tap on Add Limit and enter the passcode you set earlier in Screen Time. Set it to 1 minute and make sure you have enabled Block at End of Limit. Now tap on Add. Voila! Now after using your app for 1 minute it will lock - the icon will be greyed out on your home screen. When you tap on the greyed out icon you’ll get this message, “Ask For More Time” which you just tap on and enter your Screen Time passcode to unlock.

So, there you have it! A little Screen Time hack to “Password Protect” your apps!

Mojave's Dynamic Desktop

If you haven’t already, it’s a good time to update your Mac to Apple’s latest OS X Mojave (check if your Mac is compatible here). One of my favourite features is Mojave’s dynamic desktop. Now, it’s not a “life-changing” feature, but more of a fun novelty. Based off your location, your desktop background will change accordingly to the time of the day - so you’ll see a progression from day to night. Pretty cool right?

Curious? Here’s how to enable Dynamic Desktop for you Mac…

Dynamic_Desk01.jpeg

System Preferences > Desktop & Screen Saver > Desktop > Click on the drop-down menu and select Dynamic

…and you’re done!

You can also find and download more dynamic desktops online, or if you’re adventurous enough, make your own. I hope you find this feature just as interesting as I do!

How To: Using iOS 12's Passwords & Accounts Tool to Autofill

Okay, let’s be honest here, we’re all a little bit aware that we tend to forget our passwords especially with so many multiple logins. The good thing is that Apple has made it easier for us by giving us iCloud Keychain, which helps to store our usernames and passwords safely.

eleven-x-648723-unsplash.jpg

STORING YOUR PASSWORDS is pretty easy with Apple iCloud Keychain. All you have to do is log in to one of your apps or a website and a pop-up will ask if you want to save these login details to your iCloud Keychain. Select Save Password and voila! Your details are now added to your Keychain.

If you want to view your stored passwords in your Keychain simply go to your Settings > Passwords & Accounts > Website & App Passwords. Once you’ve confirmed your ID with either Touch/FaceID you’ll be able to see your full list of login info.

CREATING A STRONG PASSWORD is good practice. Most of us are guilty of creating very easy passwords (usually the name of our favourite pet and someone’s year of birth, or the most common, “Password”) iCloud Keychain thankfully has an option to create a strong password for you. So whenever your register for an app or register for anything on Safari, iOS 12 will suggest a Strong Password for you, which is then saved to your Keychain. So the next time your signing up to something new, you’ll see a pop-up which will then have the option “Use Strong Password.”

If this isn’t working for you, check that you have Autofill Passwords enabled. Settings > Passwords & Accounts > Autofill Passwords. Check that you have iCloud Keychain enabled as well.

AUTOFILL your passwords now whenever you’re logging in! Tap on the username or password box when logging into an app or website and if iOS detects that you’ve saved a login for the app or site, it’ll suggest a login just above your keyboard. Once you’ve selected the appropriate login, you just have to confirm using Touch/FaceID and your login details will be automatically filled out. Next step, tap on login!

How easy is that? No more trying to scramble your brain remembering multiple logins and passwords. There are many other apps that can help you with password management. I myself personally use 1Password. It’s a great little app that stores not only just your login details, but also other things such as your bank details, membership card details, credit card details. The sky’s the limit with what you want to store in it. You can check it out here on the app store. If you’re not a fan of a paid subscription though, there are also free alternatives. Explore Apple’s App store and see what you’ll discover!

What to do after changing your Apple ID or Password

apple-business-computer-4158.jpg

At Setup, Sync and Learn your security and privacy is always important. It’s always good housekeeping to change your password at least once or twice every year. It does seem straight forward, but at times you might find yourself getting numerous notifications on your devices to sign-in again. So to make it a little less stressful for you here’s a short list of what to check after you’ve changed your Apple ID or Password…

Update your Apple ID and password on your iPhone, iPad, iPod touch, Mac, and PC.

iPhone, iPad, and iPod touch

Go to Settings > (your name) > iTunes & App Store.

  • If you're signed out, enter your updated Apple ID and password.

  • If you're signed in with your previous Apple ID, tap your Apple ID, then tap Sign Out. Then enter your updated Apple ID and password.

Mac with OS X or Windows PC

  1. Go to Apple’s website.

  2. Click on the Shopping Bag icon, then click Account.

  3. In the Account Settings section, click Apple ID and password.

  4. Enter your updated Apple ID and password.

You will also have to update your login details by Signing Out then Signing back in to other apps such as FaceTime, iCloud, Find my iPhone, etc.

Click on this link to see a full list and instructions from Apple Support on what to do…