HOW TO: Protect you private Notes with a password
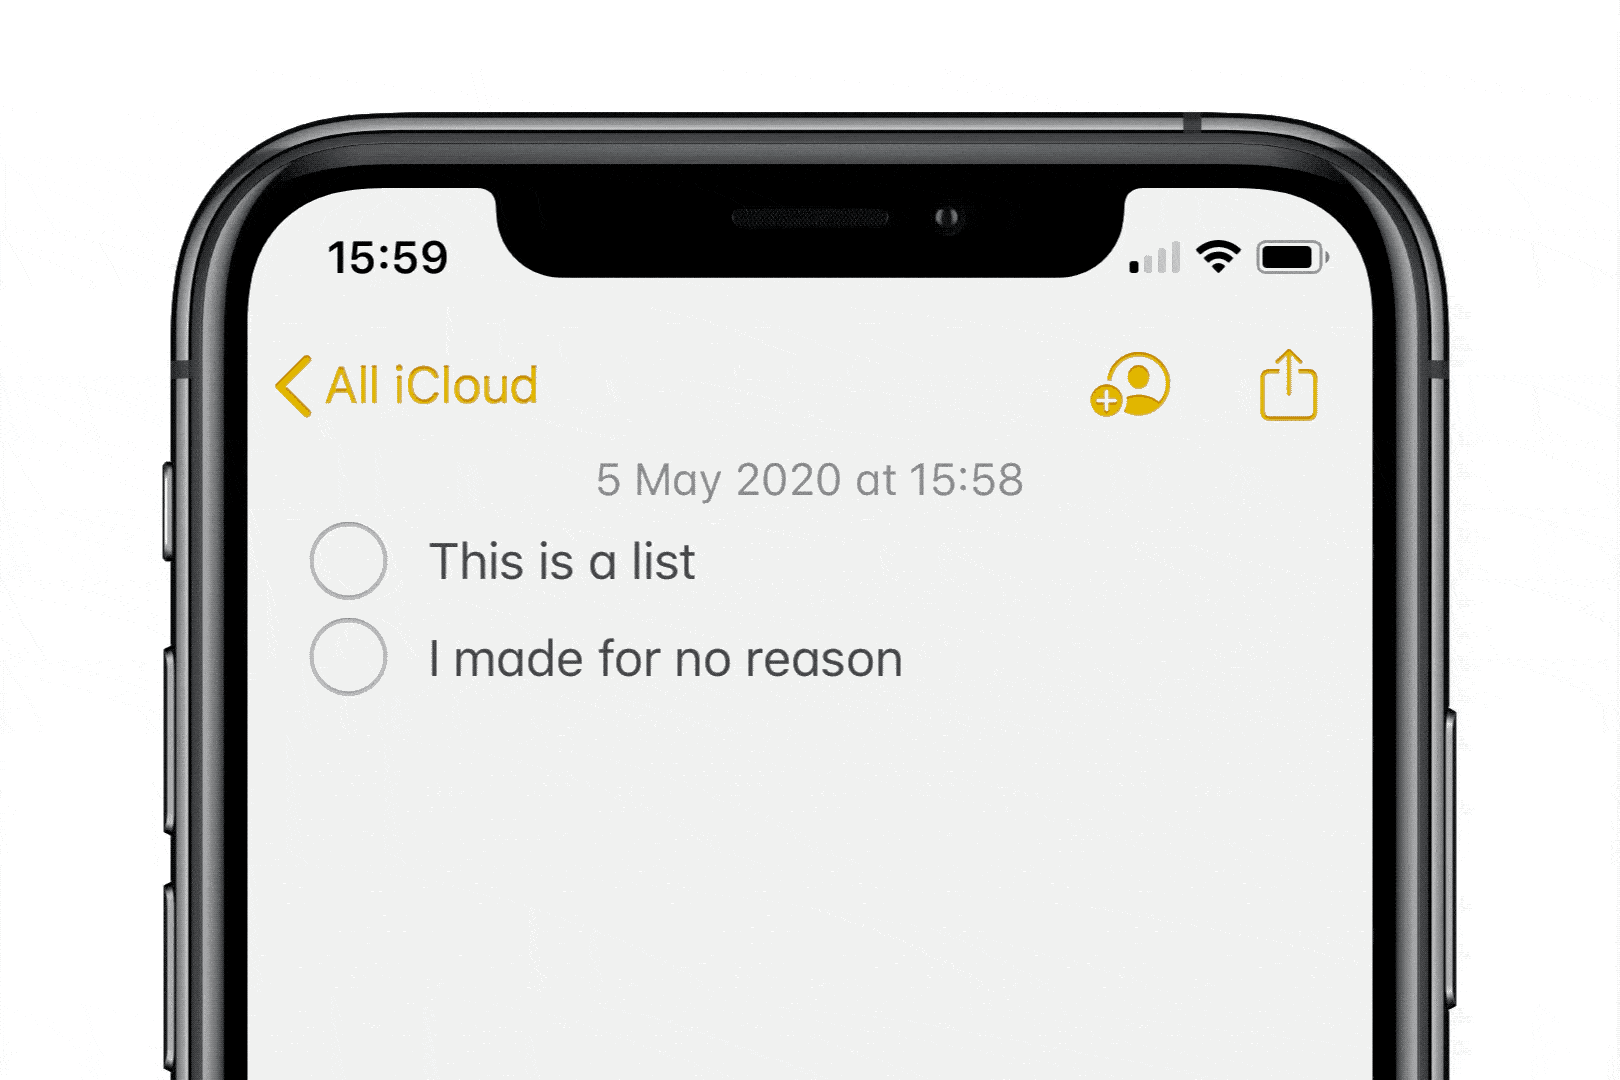
Got a secret you need to keep in your Notes on your iPad, iPhone or Mac? Or maybe just a place to store your not so super-secretive passwords and login details? There’s no need to download any fancy vault-keeping type app if you’re looking to keep a few simple notes private since in Apple’s Notes app you can assign a password to any individual note! There’s two ways to achieve this, so here’s how…

1. Locking notes on your iPhone/iPad:

  1. Navigate to your Settings

  2. Select Notes

  3. Tap on Password (select the account you want to have a password on if you have multiple accounts)

  4. Enter a password and be sure to give yourself a hint just in case you forget (you can also use Face/TouchID if you have a compatible device)

  5. Tap on Done

2. Locking notes in the App

  1. Navigate to Notes

  2. Select the Action/Share icon

  3. Select Lock Note

  4. Enter a password and be sure to give yourself a hint just in case you forget (you can also use Face/TouchID if you have a compatible device)

  5. Select Done

To learn a little more about it you can visit Apple’s Support page here.

Is your Macbook's battery healthy?

Recently my MacBook Pro’s battery hasn’t been the best. While doing some work my fans started running at high-speed and I was afraid my MacBook Pro was about to lift-off and head to space. Thankfully it didn’t, instead I had a little pop-up warning about the excessive energy being used. This prompted me to check my battery health. So how does one check the health of their battery?

Make sure that you’ve updated your OS X to the latest - Catalina 10.15.5. Navigate to your System Preferences, click on Energy Saver, then click on Battery Health.

For my Mac, I had an alert that my battery needed to be serviced. After a short call, a quick online diagnostic, I was able to book in a work appointment to my local Apple store and got my battery replaced under warranty! Happy days! I could get back to work.

Photo by iabzd on Unsplash

Photo by iabzd on Unsplash

There is more that you can do to help preserve the life of your Macbook’s battery. You can find out more from the good folk here.

iOS Tip: How to disable Touch ID and Face ID

As much as I love the convenience of Touch ID and Face ID, there are times when I like using the good-old passcode way of unlocking my iPhone. This may be suitable for your situation too! Especially with winter coming around and your face is snugged up inside a warm scarf and your hands are hidden in a warm tech-friendly glove. Here’s how you can disable Touch/Face ID on your iPhone…

Navigate your way to your Settings > Touch ID & Passcode (alt. Face ID & Passcode) and then toggle off the little switches that enable Touch/Face ID for the different functions.

How To: Export your Pages document as a Word document.

Not everyone owns a Mac and when it comes to sharing documents it can become quite a hassle if you’re sharing it with someone who only has Microsoft Word. The good news is, Pages is Word friendly! Unlike Microsoft Word that can’t open Pages documents, Pages can both read and export .docx files! Here’s how you can export a Word friendly document for your Windows wielding friend thanks to the smart fellows at Cult of Mac.


Optimise your home internet set up

It’s not always our Internet Service Provider’s fault when it comes to slow internet at home. Sometimes it makes a big difference by making a little change, such as where you put your WiFi router in the house. Check out these tips from NBN Co. that may help you improve your internet at home.

  1. Upgrade your modem

  2. Check for objects that can interfere with your Wi-Fi signal

  3. Connect to the right Wi-Fi band

  4. Move your modem away from brick or complex walls

  5. Assess the number of multiple connected devices

  6. Use an Ethernet cable to connect your high definition television

  7. Check your cabling

  8. Consider upgrading older devices

  9. Ensure your device is compatible

Photo by Stephen Phillips - Hostreviews.co.uk on Unsplash

Photo by Stephen Phillips - Hostreviews.co.uk on Unsplash

To read more of the details of these tips, check out NBN Co’s article here as well as to read up on other things about your home internet.

iOS TIP: How to quickly nest your lists in notes

It’s not just ‘swipe right’ for a particular social app, but you can also use this handy shortcut to nest your lists in Notes! I love how quick and simple it is to keep my plans and thoughts organised. Here’s how easy it is to sort your list out with just a swipe…

  1. Make your list in Notes as you would normally do, either using bullets, dashes or numbers, etc.

  2. When you reach the line on the list entry you want to nest just do a quick swipe on the bullet-point, dash or number to the right!

  3. Et voila! You’re now an organised, list-making pro

GIF: Killian Bell/Cult of Mac

GIF: Killian Bell/Cult of Mac

We hope you enjoyed this quick tip! If you want more, just give us a follow on our Facebook page. Got bigger questions or would like to learn more about your Apple device? Give us a shout to see how we can help you!

iOS TIP: Turn off Location Sharing

The team at Setup, Sync and Learn hope that you all are fairing well and are safe at the current time. Right now, we are so happy about the lightening of restrictions as Australia has successfully been flattening the curve. You may have heard that the government recently launched a new app called COVIDSafe. Prior to its release, it brought up many conversations about privacy. The thought of being “tracked” worried many people, but hopefully, the most recent news on the app has helped clear any misunderstandings, as the app doesn’t track your location. But, did you know there could be other apps on your phone that are tracking your location? Here’s where you can find out which apps have location sharing on, and how you can change their permissions…

Settings > Privacy > Location Services

HOW TO: Look good in a video call

Many of you may be finding yourselves working from home, posting all those selfies on social media with the hashtag #WFH (Working From Home). With social distancing having being implemented we find ourselves turning to virtual meetings via video calls. Despite not being able to be with one another physically, we do still want to look somewhat presentable! So here’s a fun article from Cult of Mac on 5 ways to look great on a video call. They bring up 5 tips to think about it…

  1. Lighting

  2. Camera Angle

  3. Your background

  4. Make-up?

  5. How to dress

Check out their article here.

HOW TO: Video-call using Group FaceTime

With the whole community in isolation it’s no wonder many people are turning to video-calling apps to keep in touch with one another. We know that Apple has FaceTime where we can do video and audio calls to our loved ones, but did you know you can also do GROUP FaceTime video/audio calls? Here’s a helpful guide from Apple Support on how to use Group FaceTime on your iPhone, iPad or iPod. If you own a Mac, they also have a learning guide here too. So get together with the family with a virtual gathering via. FaceTime. There’s also many fun things you can do with the Camera Effects.

how_to_start_a_group_facetime_call
how-to-add-camera-effects-to-group-facetime-call

iOS Tip: Answer a message with a touch and tap!

Did you know that you can answer a text without having to type a whole reply out? Well, it depends what the text is, but iOS has the smarts to give you options for an appropriate answer. Here’s how!

Adjustments.jpeg

In your Messages, tap and hold down on the conversation you’d like to reply. You’ll then see a pop-up with suggestions on what to apply. Tap on the reply you want to use. Voila! Done ☺️

We hope you liked that useful tip from Apple’s Genius Picks. You can like and follow our Facebook page for more handy tips!

Apple Tip: How to restore your contacts

Whether it’s absent mindedness or a slip of the finger, you may find yourself accidentally deleting a contact or two. No need to fear though if you’ve got backup enabled on your iCloud. Here’s how you can recover your contacts…

IMG_0724.jpg
  1. Log into your iCloud account using your Apple ID

  2. Scroll down to where it says Advanced and click on Restore Contacts

  3. Then select an archive of your contacts that was from a date before you had accidentally removed/lost the contacts

IMG_0727.jpg
IMG_0728.jpg

iOS TIP: Swipe to Type

We’re always looking for a little more efficiency in life and sometimes we don’t notice the subtle changes Apple makes to help us along the way. If you’ve kept your iPhone updated you may have noticed a little something-something has been added to your keyboard. It’s been a long time coming, yes, I complained a little that Apple’s iOS was sooooo behind on this feature that has been around on other phone operating systems for a while, but alas the patience has paid off. So while you’re holding that reusable coffee cup in your left hand you can now swipe-to-type on your iPhone in the other hand, or the other way around, coffee in the right and phone in the left. How you ask? Well, if you’ve updated to the latest iOS 13 there’s no need to enable anything as the update would have automatically enabled it by default.

Image by Jéshoots from www.pexels.com

HOW TO DO IT?

To begin swiping-to-type, just place your finger (or thumb) on your keyboard screen and swipe it across the letters of the word you want to type. For example, for the word “Okay,” all you have to do is drag your finger/thumb over the respective letters in order “O-K-A-Y” and the keyboard will predict the word you’re trying to input.

We hope you enjoy this nifty iOS 13 feature as much as us!

iOS TIP: How to clean your iPhone and iPad properly

With the recent news about COVID-19 it sure is a good decision to take some precaution with the surfaces we come in contact with. Did you know that your iPhone or iPad may be dirtier than you think? Well, no need to freak out! The good folk at www.prevention.com has given you a simple and correct guide on how to clean your iPhone or iPad according to a Germ Pro. Make sure to read it through carefully as there are some things that can damage your device, as Apple have also mentioned themselves, where it can damage the finger-print resistant coating.

Prevention’s article gives you 5 easy steps to follow…

  1. Power down

  2. Opt for microfiber cloths

  3. Turn to rubbing alcohol

  4. Don’t use abrasive products

  5. Keep it clean

Learn more about the details by reading the article here, “How to Clean Your Cell Phone the Right Way, According to a Germ Expert” - By Elizabeth Millard.

Image by Burst from Pexels.

Image by Burst from Pexels.

iOS TIP: Share using AirDrop

Recently I’ve found myself doing quite a bit of sharing photos and Safari links from my iPhone to another iPhone or to a Mac. If you’re still trying to share files by iMessage or Mail to other Apple users you may not be aware of Apple’s sharing feature, AirDrop! So here’s how to use AirDrop thanks to Apple’s Genius Picks.

All you have to do is tap on the Share Icon (a square icon with an arrow pointing up out of it) and then tap on AirDrop. Select the name of the person’s device and the transfer will begin.

Adjustments.jpeg

iOS TIP: How to change the language of an app

If you’re like me and find learning a new language is easier when you integrate it into everyday things (ie. purposefully changing the language of my phone) then this little genius tip might be great for you! Instead of changing the whole language on your iPhone, you can change the language only for a particular app.

HERE’S HOW!

Go to Settings > Tap on an App > Tap on Language > VOILA!

change_iphone_app_language.jpeg

Please Note: Not all apps may have this function.

iOS TIP: Sorry running late! How to share your ETA

Here’s a quick iOS TIP for you in case you’re running a little late and you have friends who want to know how far away you are.

Open APPLE MAPS > Input your destination > Directions > GO > Tap on the bottom anchor which shows the ARRIVAL/MIN/KM > Tap on Share ETA > Select the contact you want to share it to.

Share_Arrival_Time_Setup_Sync_Learn.jpeg

Photos: Creating a Photobook with Mimeo

So, as we know Apple had discontinued their Print Products in Photos. But no need to fear, there’s still plenty of third-party apps that work with Apple Photos to help you on your creative photographic projects! One of these is an app extension called Mimeo. Now, I’ve been using this extension for a while and even have had a few sit-down home sessions, in Perth, showing people how to organise, edit and print their travel adventures using Mimeo (click here if you’d like to book a session!). The print results are also amazing! So here’s a short video from Mimeo on how to build a photobook using their Photos plugin on Apple…

iOS Tip: How to stop your kids from trying to hack Screen Time

Let’s be honest here, as much as we want to have some semblance of parental control over what kids do on their iPhones, iPads or iPods they somehow have the knack of finding loopholes. Well, it’s time to fight back! Kidding…somewhat. But here are 3 loopholes that some smart alec kids have been able to find to bypass Apple’s Screen Time parental control feature and also their SOLUTIONS!

BYPASSING SCREEN TIME BY CHANGING THE TIMEZONE…

  1. High-five the child for such a genius hack then take their phone off them

  2. Disable Screen Time on their phone

  3. Go to Settings > General > Date & Time > Enable “Set Automatically”

  4. Enable Screen Time again and make sure you set the 4-digit Pass Code (remember it and hide it from the kids!)

  5. Turn on “Content & Privacy Restrictions”

  6. Go down and tap on “Location Services”

  7. At the bottom you’ll see “System Services”

  8. Enable “Setting Time Zone” and then go back

  9. At the top of the “Location Services” screen, toggle on “Don’t Allow Changes” - This should grey out the options in System Services and “Setting Time Zone”

  10. Now in Settings > General > Date & Time everything should be greyed out and the kid won’t be able to change anything!

MY KID CAN STILL USE THE APP EVEN THOUGH I’VE SET APP LIMITS!

This one is simple. One little switch makes the difference!

  1. On their phone go to Settings > Screen Time > App Limits > Add Limit

  2. Select a Category or individual App

  3. Set the time limit and now make sure you enable “Block at End of Limit”

  4. Done!

THEY’RE WATCHING YOUTUBE VIDEOS THROUGH THE iMESSAGE WIDGET!

What a little genius, but such genius must be squashed…

  1. Settings > Screen Time > Content & Privacy Restrictions > Content Restriction > Enter Passcode > Web Content

  2. Tick “Limit Adult Websites”

  3. Under “NEVER ALLOW” add this web address - https://www.youtube.com - NO MISTAKES! COPY IT EXACTLY OR IT WON’T WORK!

  4. You may also want to remove the iMessage app from the “Always Allowed” list…

  5. Settings > Screen Time > Always Allowed > Remove it from the Allowed Apps by tapping on the red circle with the minus sign in the middle

Security: Spotting a fake email from Apple

It’s always a good habit to read something before clicking on anything. That’s usually the best first defense for yourself against any potential dangers to the security and privacy on your computer or iDevice. Majority of these scammers will usually try to gain access to your account via your email or even through an SMS. Let’s just be honest here, there is no privacy when it comes to how people can contact us. The days of having an unregistered number in the White Pages is long gone!

While going through my Apple Mail I so happened to come across this wonderful email that should’ve ended up in my spam/junk folder. Let’s see if you can determine whether it is fake or not…

Fake_Apple_Mail01.png

Here’s the breakdown…

  1. Apple would NEVER send you an email asking for your details or to change them

  2. This was sent to an email which I don’t even have an Apple ID associated with

  3. Count the spelling and gramatical errors

  4. Lastly, as the subject line says…I don’t even own a Microsoft Edge, I’m 100% Apple!

So, this is quite an obvious fake email whose purpose is to gain access to your Apple ID. I can’t stress this enough, but to say READ THINGS CAREFULLY BEFORE YOU CLICK!